
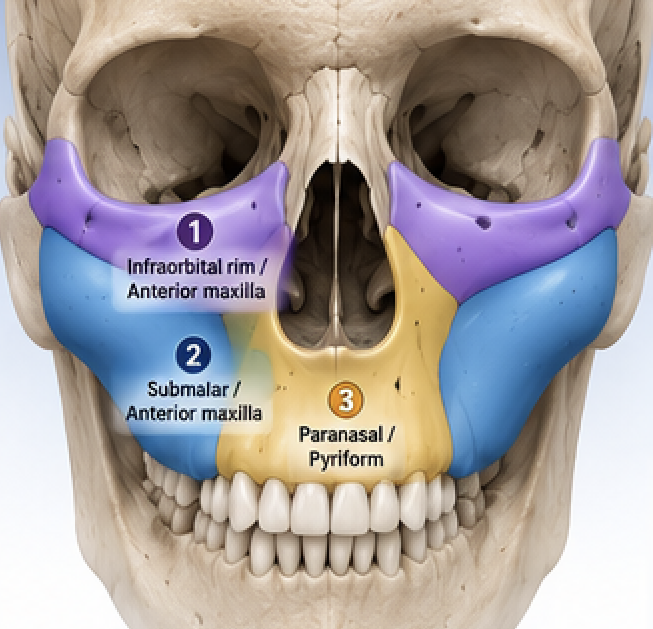
For most implants whose goal is midface augmentation,their design and manufacture should be thought of as a three zone concept in which the anatomy/design relationship can be summarized as follows:
|
Zone |
Anatomy |
Design purpose |
Surgical-planning issue |
|
1 — Infraorbital / anterior maxilla |
Infraorbital rim and upper anterior maxilla |
Improve negative vector and upper-midface projection |
Infraorbital nerve/foramen must be identified and accommodated |
|
2 — Submalar / anterior maxilla |
Anterior maxillary surface below the malar region |
Provide broad AP augmentation and connect Zones 1 and 3 |
Implant must seat intimately on bone without an abrupt inferior/lateral edge |
|
3 — Paranasal / pyriform |
Lateral pyriform aperture and paranasal maxilla |
Increase central midface projection and paranasal support |
Preserve pyriform anatomy and avoid excessive nasal-base effect |
Overall design
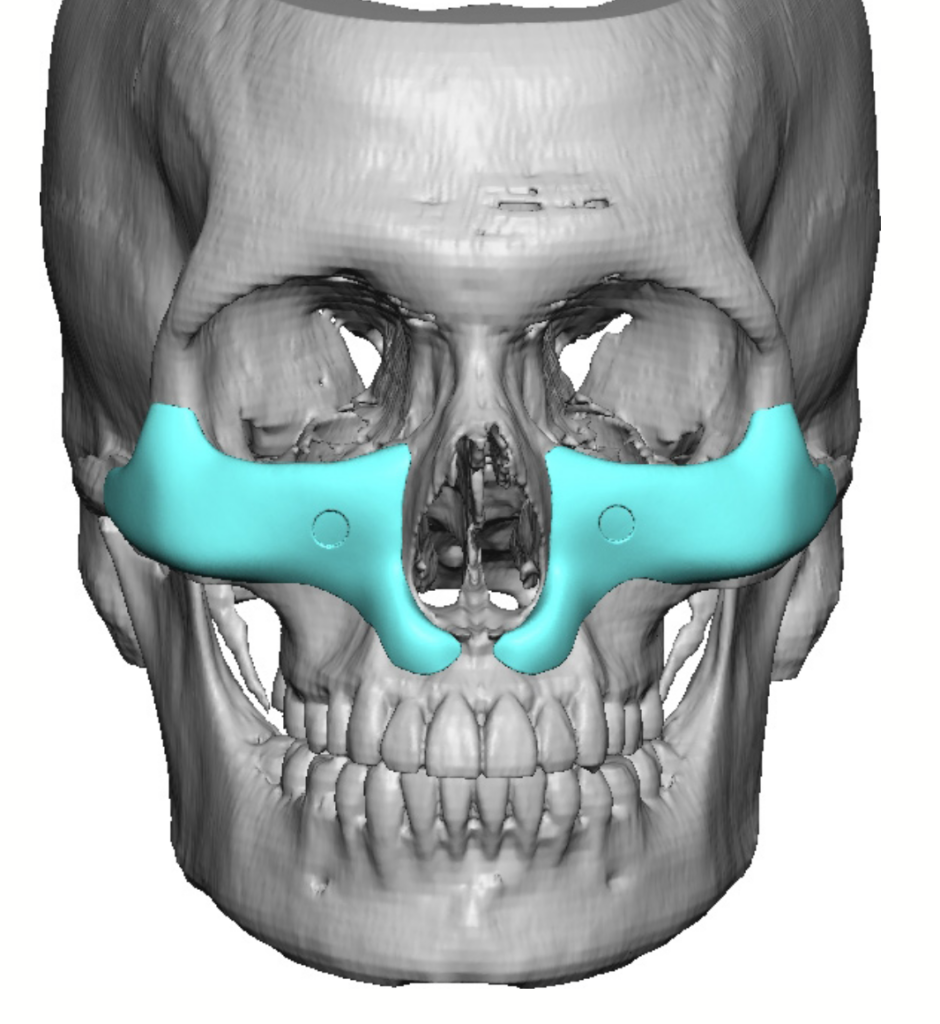
The desired dimensional changes into three zones are put together in an implant design that is a continuous target skeletal envelope:
infraorbital rim – anterior maxilla – submalar maxilla – paranasal/pyriform region.
The external surface determines the desired augmentation, while the internal surface is patient-specific and conforms to CT-derived bone.
The implant also needs deliberate relief around the infraorbital neurovascular bundle, smooth peripheral feathering, and fixation locations that are both anatomically appropriate and actually accessible through the surgeon’s chosen exposure.
General surgical workflow
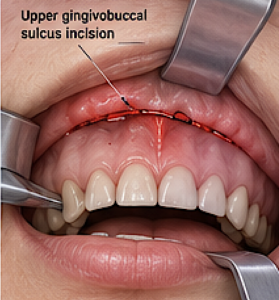
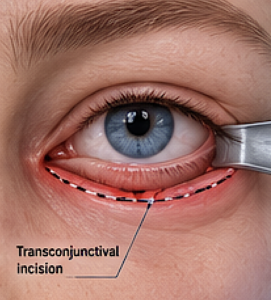
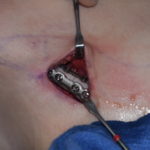
At a high level, placement consists of exposing the planned skeletal footprint, developing a subperiosteal pocket, identifying/protecting important anatomy, introducing the custom component(s), seating them against the CT-matched skeletal surface, confirming position, securing them according to the validated fixation plan, and closing the soft-tissue access. The intraoral incision is the primary method of implant introduction. When needed, and is not that commonly used, is a lower island incision to help seat the implant along the infralorbital rim if necessary.
A particularly important design decision is whether the three zones should be manufactured as one continuous implant (if it crosses the premaxilla-anterior nasal spine. A beautiful one-piece CAD design isn’t useful if its geometry prevents introduction through the intended surgical exposure. For this reason, a total mid face implant that crosses the midline is designed so that can be placed as two pieces by splitting it in the midline. Many custom midface implants do not need premaxillary/anterior nasal spine augmentation, and therefore they are designed as two pieces.
Two Piece Midface Implant
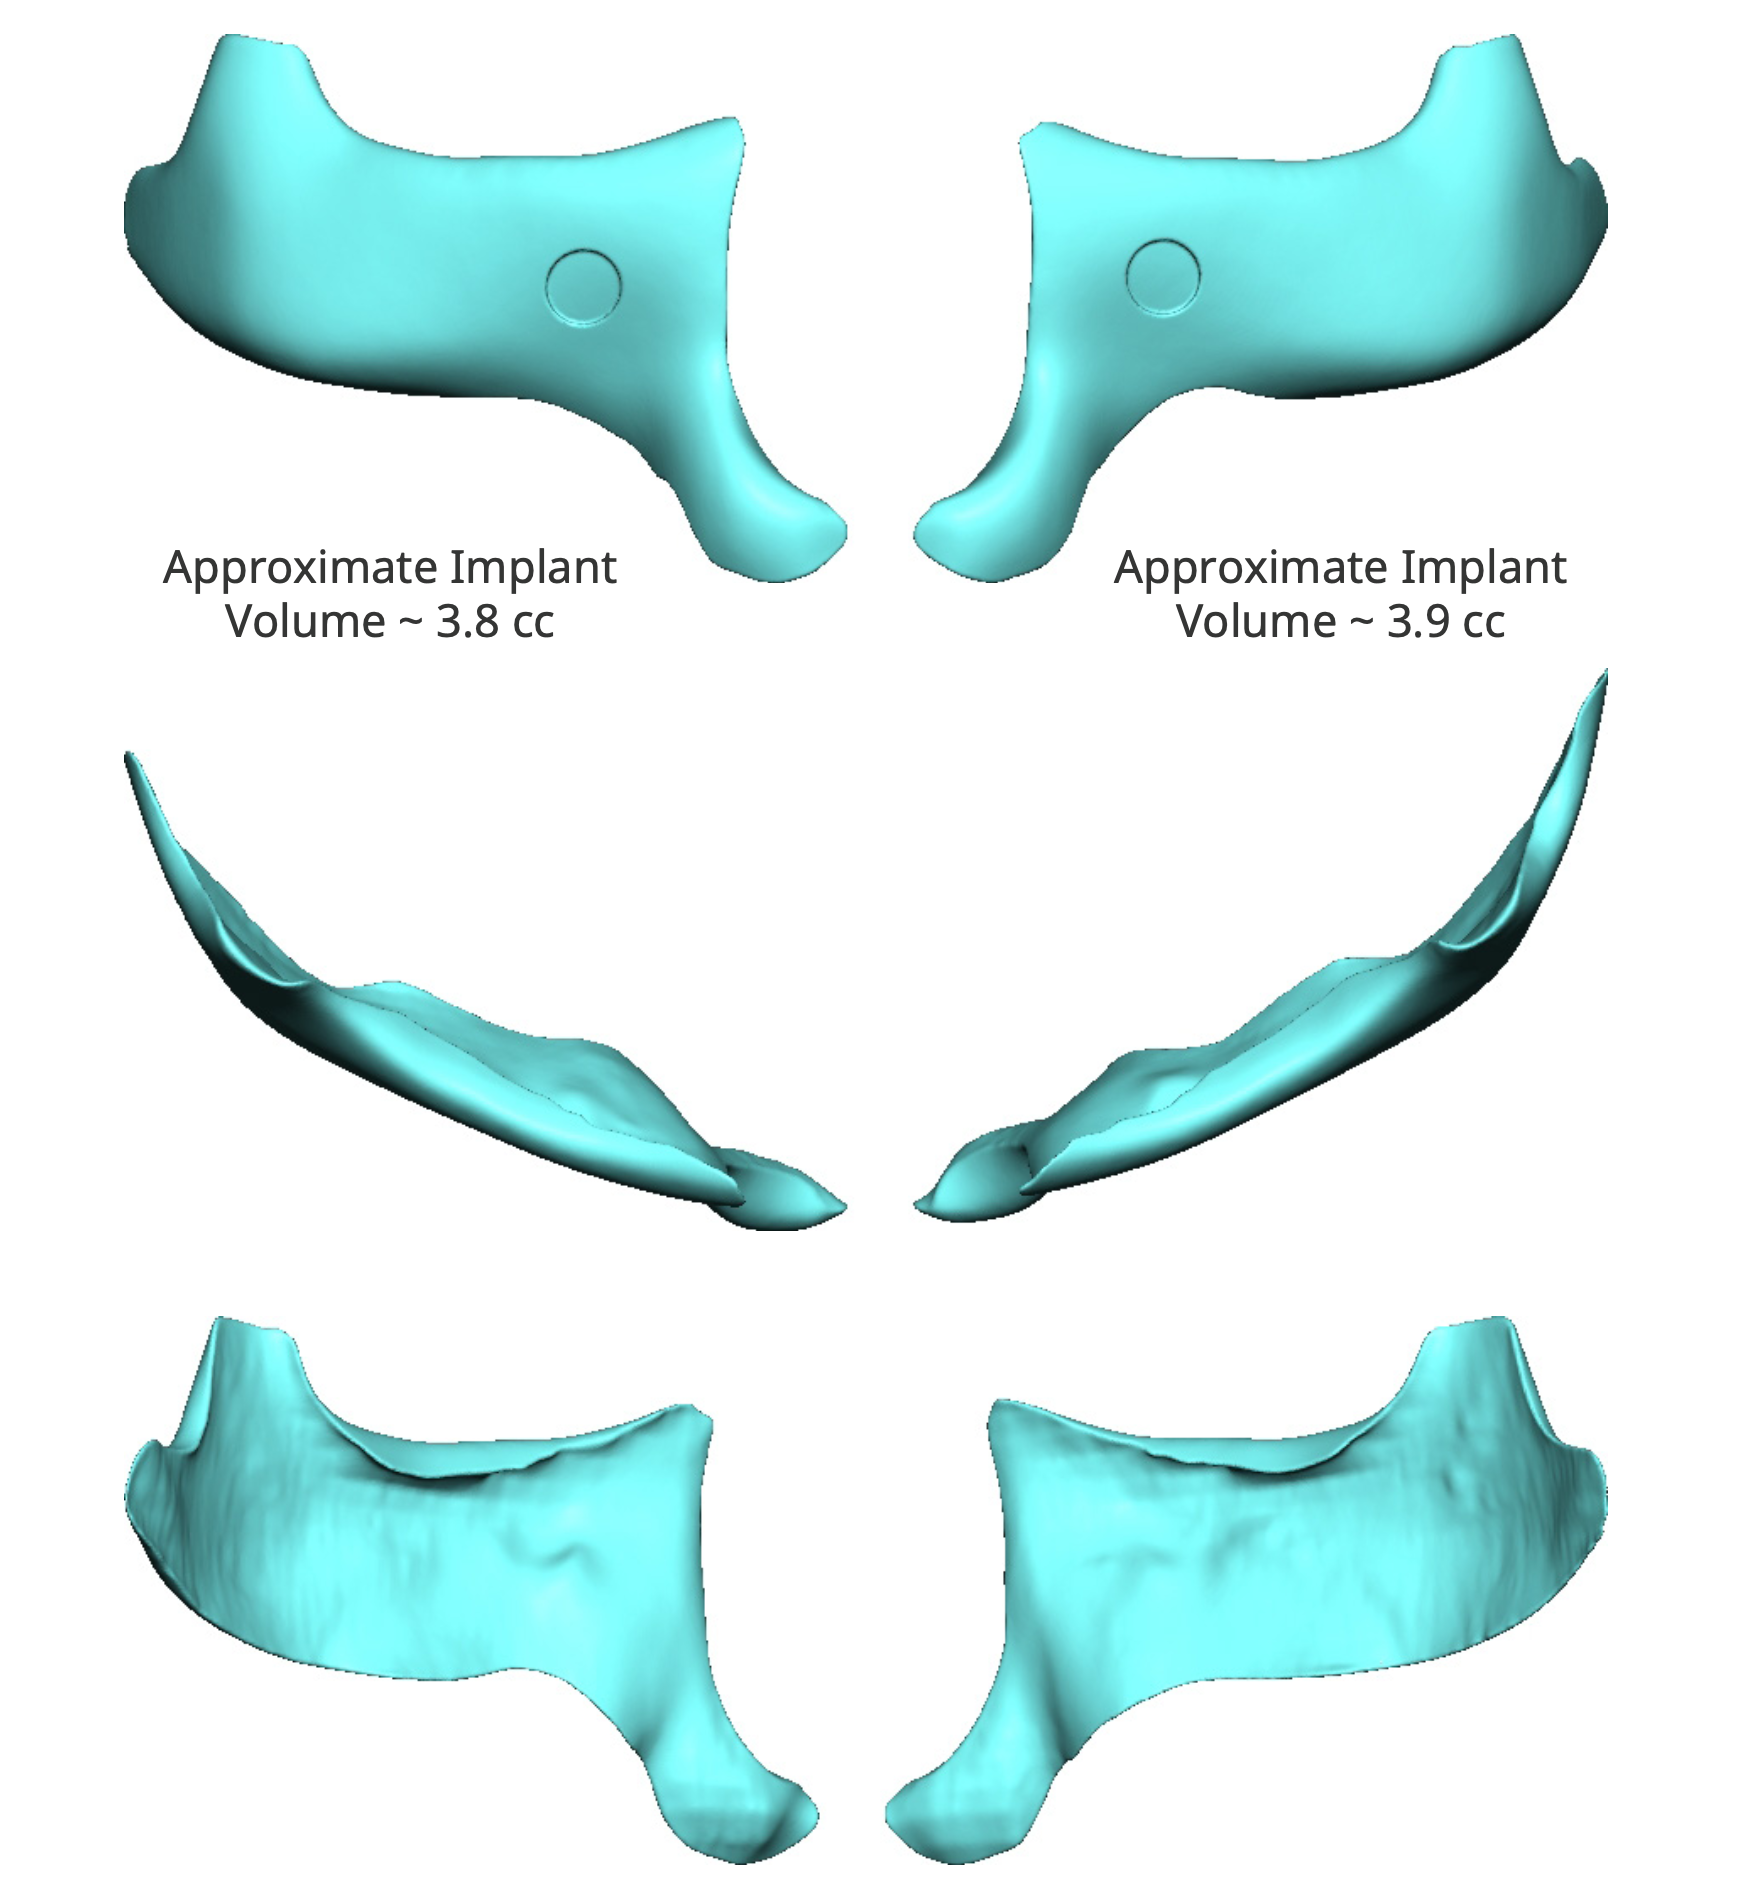
A two-piece midface implant is the morst practical way to execute the three-zone concept.
A useful configuration would be:
- Piece A: infraorbital–submalar component — spans Zone 1 and Zone 2, creating the upper and lateral anterior-maxillary contour.
- Piece B: paranasal–pyriform component — spans Zone 3 and central anterior maxilla, creating the medial advancement effect.
The interface between the two pieces should ideally sit in a low-visibility, low-stress transition area, with a broad overlapping or keyed junction rather than a sharp butt joint. The external surfaces should form one continuous final contour, while each component remains small enough to be inserted and seated independently.
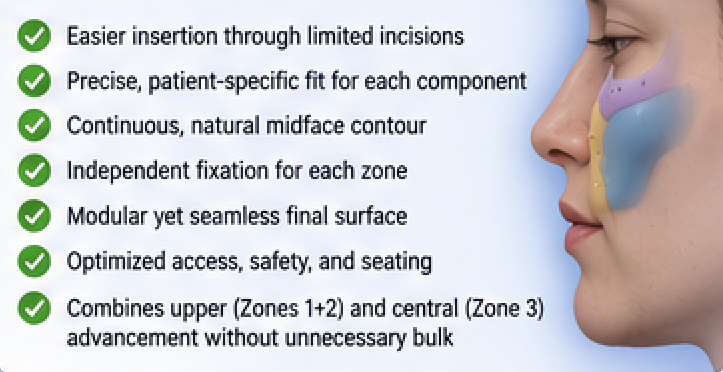
A two-piece design can make surgical access easier, improve control of seating, and reduce the need to force a large implant through a limited approach. For solid silicone, custom midface implants due to their flexibility placement is often easier. For the very rigid PEEK custom midface implants placement can be more challenging, particularly around the infraorbital nerve as well as seating along the infra orbital rim. As a result, they become a four piece implant design to be able to get around the nerve requiring two pieces or a split design, on each side.
Dr. Barry Eppley
Plastic Surgeon